How to Balance a Cash Drawer in a Restaurant
Learn how to balance a cash drawer accurately by counting cash, reviewing POS records, tracking variances, and improving restaurant cash control.


Overview
Balancing a cash drawer is one of the simplest but most important financial controls in a restaurant. It is not just a closing task for the register. It is a daily process that helps restaurant owners confirm that cash sales were handled correctly, reports are accurate, and store-level operations are staying under control.
In a busy restaurant, cash moves quickly. Orders are placed, change is given, refunds happen, paid-outs may be recorded, and drawers are opened and closed across multiple shifts. Without a consistent balancing process, small mistakes can easily go unnoticed. A missed receipt, an incorrect change amount, or an unrecorded cash drop may seem minor on its own, but repeated errors can create larger losses over time.
Cash drawer balancing also supports accountability. When owners and managers compare the cash in the drawer against the expected total from the POS, they are not just checking math. They are checking whether the process was followed correctly. This helps identify training gaps, process breakdowns, and possible theft before those issues become harder to trace.
Just as importantly, balanced drawers lead to cleaner reporting. If cash counts are off, daily sales reconciliation, deposits, and financial records can all become less reliable. That affects decision-making, especially for owners trying to monitor margins closely. When done consistently, it protects revenue, improves discipline, and gives owners more confidence in the numbers they review every day.
Step 1. Gather the Reports and Records You Need
The first step in balancing a cash drawer is to gather all of the records that explain what happened during the shift. This step is important because balancing is not just about counting money. It is about matching the money in the drawer to the activity that was recorded throughout the day.
Start with the POS sales report. This report shows the register activity for the shift, including cash sales, refunds, voids, discounts, and other transactions that may affect the final drawer total. Without this report, there is no clear benchmark for what the drawer should contain.
Next, collect all supporting records tied to cash movement. This can include printed receipts, manager-approved refunds, paid-out slips, cash drop records, and any notes about unusual transactions during the shift. If your restaurant allows tips to be paid out in cash, those records should be included as well. Every dollar that entered or left the drawer should have some form of documentation behind it.
This step matters because missing records create confusion later in the process. A drawer can appear short or over simply because a paid-out was not recorded properly or a refund slip was misplaced. When managers try to investigate a variance without complete paperwork, they often waste time guessing instead of confirming what actually happened.
A clean balancing process starts with organized information. Before anyone begins counting bills and coins, they should already have the sales report and all related records in front of them. That preparation makes the rest of the reconciliation process faster, more accurate, and much easier to review if a discrepancy appears at the end.
Step 2. Confirm the Starting Cash Amount
Before counting any money, you need to confirm how much cash was supposed to be in the drawer at the start of the shift. This amount is often called the "starting bank" or "opening float," and it plays a critical role in accurate reconciliation.
The starting cash amount is not revenue. It is the base amount of cash placed in the drawer to make change throughout the shift. If this number is not verified, it becomes very easy to miscalculate actual sales and create unnecessary confusion during balancing.
Start by checking your restaurant's standard drawer amount. For example, if each drawer is expected to begin with $200, that number should be confirmed at the beginning of the shift and documented. If the drawer was short or over at the start and no one recorded it, the end-of-shift balance will be off even if everything else was handled correctly.
If multiple employees use the same drawer during different shifts, this step becomes even more important. Each shift should either reset the drawer to the standard starting amount or clearly document any differences before handing it off. Without this control, accountability becomes unclear and variances are harder to trace.
Confirming the starting bank ensures you are measuring the right number. When you move forward to count the drawer and compare it to sales, you will know exactly how much of the cash is operational (for making change) and how much should represent actual cash sales.
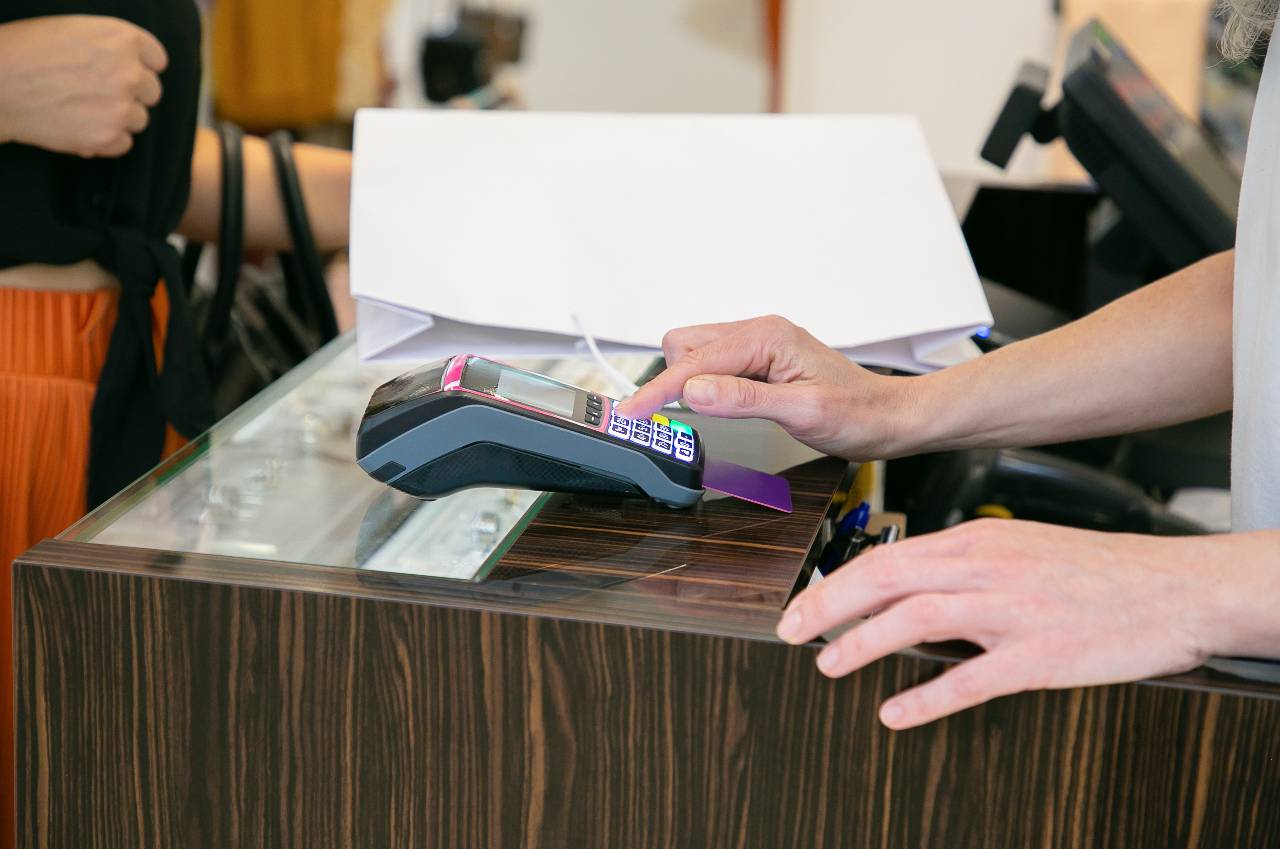
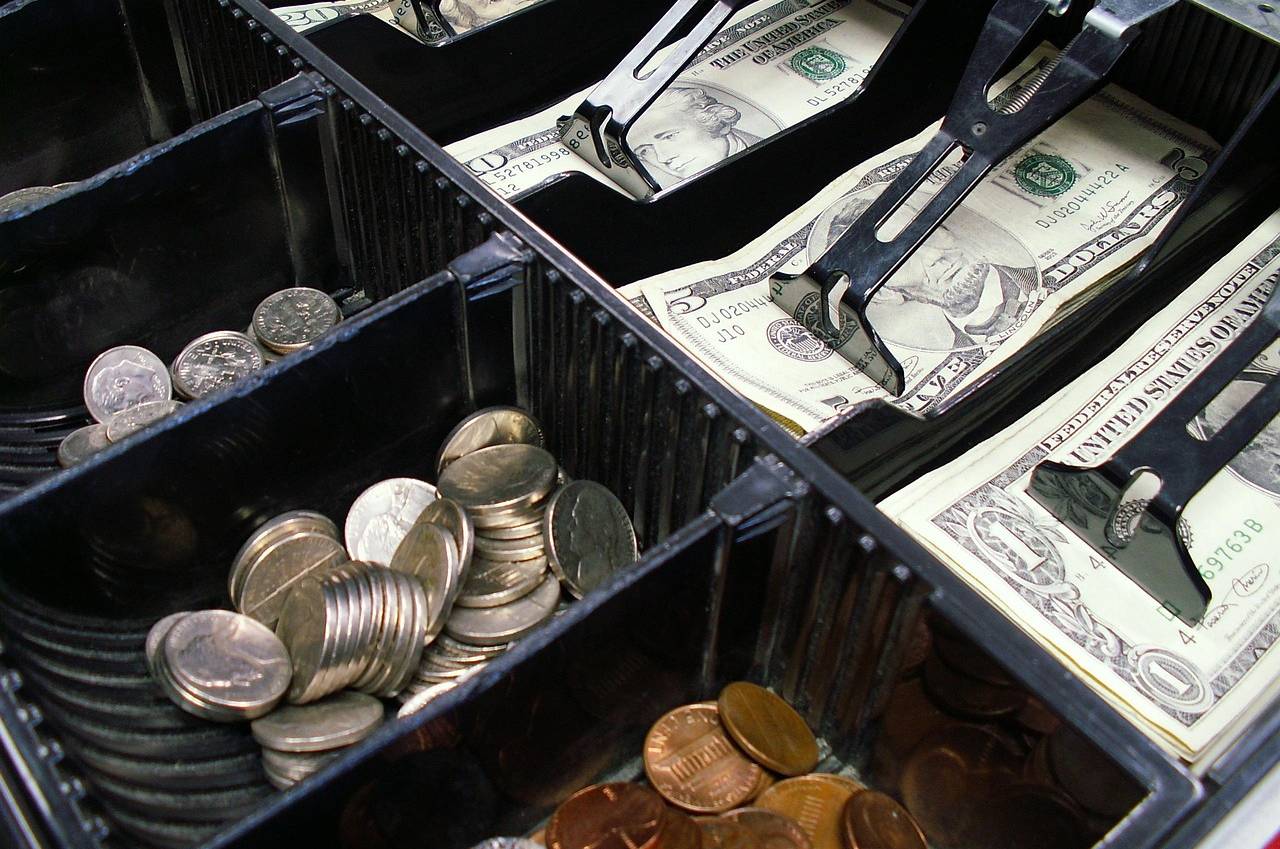
Step 3. Count the Cash in the Drawer Carefully
Once the starting cash amount has been confirmed, the next step is to count the money that is physically in the drawer. This sounds simple, but it is one of the most important parts of the process because even a small counting error can make the drawer appear over or short.
First remove all cash from the drawer and organize it by denomination. Separate each bill type and each coin type into its own stack. This makes the count easier to follow and reduces the chance of skipping or double-counting money. Many restaurants use a count sheet to record the number of ones, fives, tens, twenties, and coins before calculating the total. That approach helps create a more consistent process and gives managers a written record to review later.
The key here is to count slowly and in the same order every time. Rushing through the drawer at the end of a busy shift increases the risk of mistakes. Bills may stick together, coins may be overlooked, and rolled-up receipts can sometimes hide cash underneath. A careful count is more valuable than a fast one.
If your restaurant handles a high volume of cash, it can also help to have a second person verify the total, especially when the final number seems unusual. That extra step can prevent avoidable recounts and reduce disagreements later.
Step 4. Separate Sales Cash from the Starting Bank
After counting the total cash in the drawer, the next step is to separate what belongs to the starting bank from what was generated during the shift. This is where many mistakes happen, especially when teams skip steps or try to estimate instead of calculate.
Start by taking the total amount of cash you just counted and subtracting the confirmed starting bank. For example, if the drawer was counted at $450 and the starting bank was $200, then $250 represents the cash collected from sales during that shift. This number is what you will compare against your POS report in the next step.
This separation matters because the starting bank is not revenue. It is operational cash that should remain consistent from shift to shift. If you do not remove it from the equation, you will overstate your cash sales and create confusion when trying to reconcile the drawer.
It is also important to physically reset the drawer back to the standard starting amount once this step is complete. Any excess cash above the starting bank should be prepared for deposit, safe drop, or transfer according to your restaurant's process. This keeps each shift clean and prevents carryover errors into the next shift.
By isolating sales cash from the starting bank, you create a clear number that reflects actual performance for that shift. This makes the next step - comparing against the POS - much more accurate and easier to review.
Step 5. Compare the Count to the POS Expected Cash Total
Once you have isolated the cash generated from sales, the next step is to compare that number to what your POS system says should be in the drawer. This is the core of the balancing process - matching actual cash to expected cash.
First locate the "expected cash" or "cash sales" figure on your POS report for that shift. This number reflects all recorded cash transactions, including sales, refunds, and any adjustments entered into the system. It represents what the drawer should contain after accounting for system-tracked activity.
Now compare that number to the sales cash you calculated in the previous step. If both numbers match, the drawer is balanced. If they do not, the difference becomes your variance - either an overage (more cash than expected) or a shortage (less cash than expected).
At this stage, it is important not to jump to conclusions. A mismatch does not automatically mean something went wrong. It simply means there is a gap between recorded activity and actual cash on hand. The goal is to identify why that gap exists.
Keep the comparison clear and documented. Write down both numbers and the difference between them. This creates a simple record that managers can review and helps maintain consistency across shifts.
This step turns the process from counting into analysis. You are no longer just handling cash - you are verifying that your operations, systems, and staff execution all align with what actually happened during the shift.
Step 6. Adjust for Paid-Outs, Refunds, and Cash Drops
If the drawer does not match the POS expected cash total right away, the next step is to review any cash movements that may explain the difference. In restaurant operations, money does not only move through sales. It can also leave the drawer through paid-outs, refunds, tips, or safe drops. If those items are not accounted for properly, the drawer may look inaccurate even when the shift was handled correctly.
Start by reviewing all paid-outs from the shift. These may include small purchases, supply runs, or other manager-approved expenses taken directly from the drawer. Then check for any cash refunds that were processed. If a refund was given to a guest but was not recorded properly in the system, the drawer may appear short.
Next, review cash drops. Some restaurants remove excess cash from the drawer during the shift and place it in a safe for security reasons. If that cash was removed but not included in the balancing process, the drawer will not match the expected amount. The same applies to any cash tips or other cash-based payouts handled outside the normal sales flow.
This step is important because it separates real discrepancies from explainable differences. A drawer should not be marked short or over until all of these cash movements have been reviewed and verified.
Step 7. Record Any Overages or Shortages and Close the Drawer
The final step in balancing a cash drawer is to record the result of the reconciliation and close the drawer properly. At this point, you should know the expected cash amount, the actual cash counted, and whether any paid-outs, refunds, or cash drops explain the difference. What remains is the final variance.
If the drawer matches the expected total, document that it balanced and reset the drawer to the standard starting bank for the next shift. If the drawer is over or short, record the exact amount. Do not rely on memory or assume it can be fixed later. Variances should be written down immediately so there is a clear record tied to that shift, register, and employee if applicable.
This documentation matters because one variance alone may not tell you much, but patterns over time can reveal larger issues. Repeated shortages may point to training gaps, inconsistent procedures, or possible theft. Repeated overages may suggest change is being given incorrectly or transactions are not being entered as they should be. Without written records, those patterns are much harder to spot.
Once the variance is recorded, complete the closing process. Secure the cash for deposit or safe drop, return the drawer to its approved starting amount, and make sure all related reports and count sheets are stored according to your restaurant's process.